Quick Start
Installation
Using pip
pip install sbp-env
Or manually:
Download the latest code and install required dependencies listed inside requirements.txt (recommend to always isolate your python workspace with virtual environment, e.g., conda/pyenv)
# get code from remote
git clone https://github.com/soraxas/sbp-env
cd sbp-env

# optional, using virtual env
conda create --name my_ws python=3.8
conda activate my_ws
You would first need to install the dependencies with
# install dependencies
pip3 install -r requirements.txt
# optional dependencies for manipulator simulator
pip3 install -r requirements_klampt.txt
The quickest way to test out the capability of a planner is to experiment with a 2D Image Space planner.
python main.py rrt maps/room1.png
The syntax always requires a positional argument which specify the planning environment. In the case of the 2D engine or 4D rover arm, it should be a path to an image file (png/jpg). For the case of the \(n\)-D manipulator, it should be a path to an xml file as specified in Klampt.
Using other simulator
The type of simulator can be set with the --engine flag. For example, the 4D
robot arm simulator can be used with the 4d value.
python main.py rrt maps/4d.png --engine 4d
You can also set the length of the rover arm (a list of two float that corresponds to the 2 sticks’ length) with the following.
python main.py rrt maps/room1.png --engine 4d --4d-robot-lengths 15,15
Notice that the argument for --4d-robot-lengths must be
comma-separated numbers, each of the number represent the length of the rover arm.
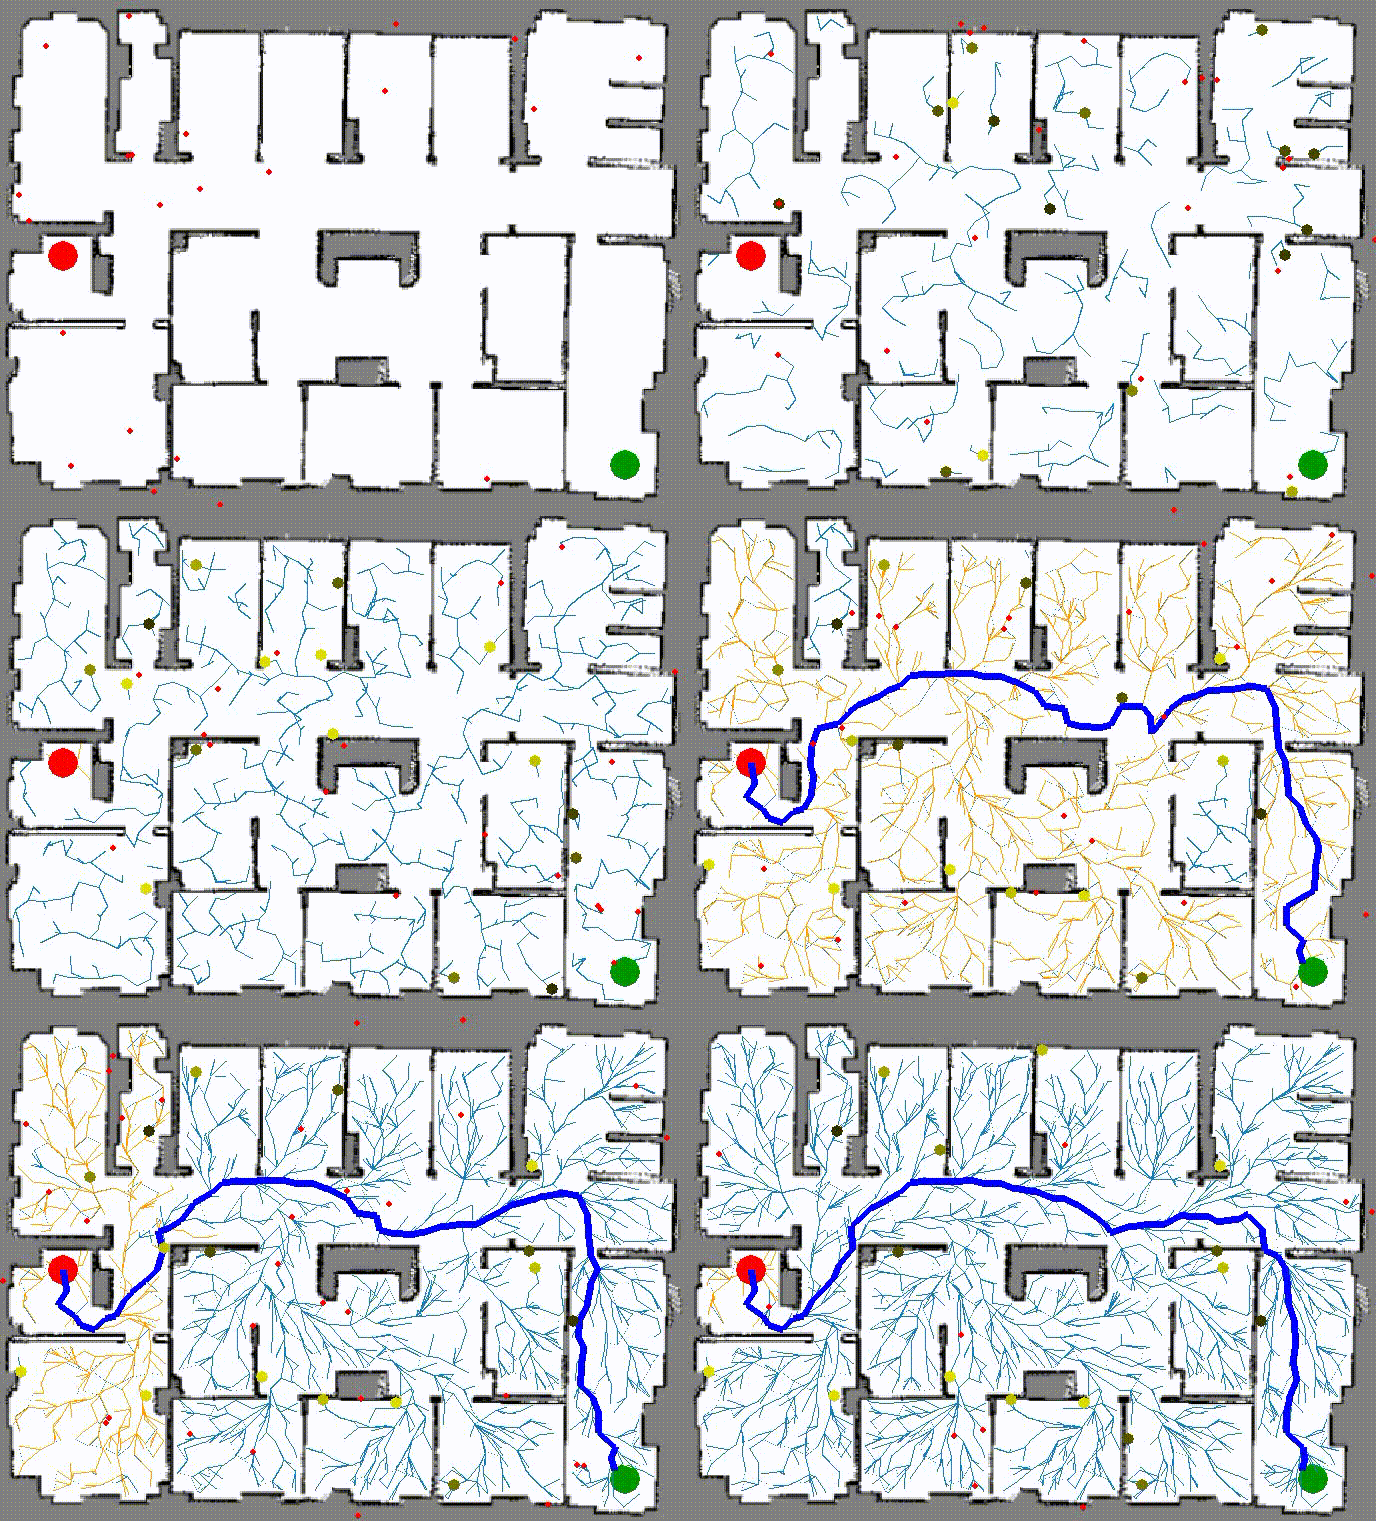
For the 4d rover arm simulator, sbp-env will visualise each node with the
actual arm that is currently used for collision-checking.
The two arms are currently being displayed in orange and cyan colour for
distinguishing them when the display is cluttered.
The colour are currently non-configurable, and only matters to the visualisation of
the planning horizon.
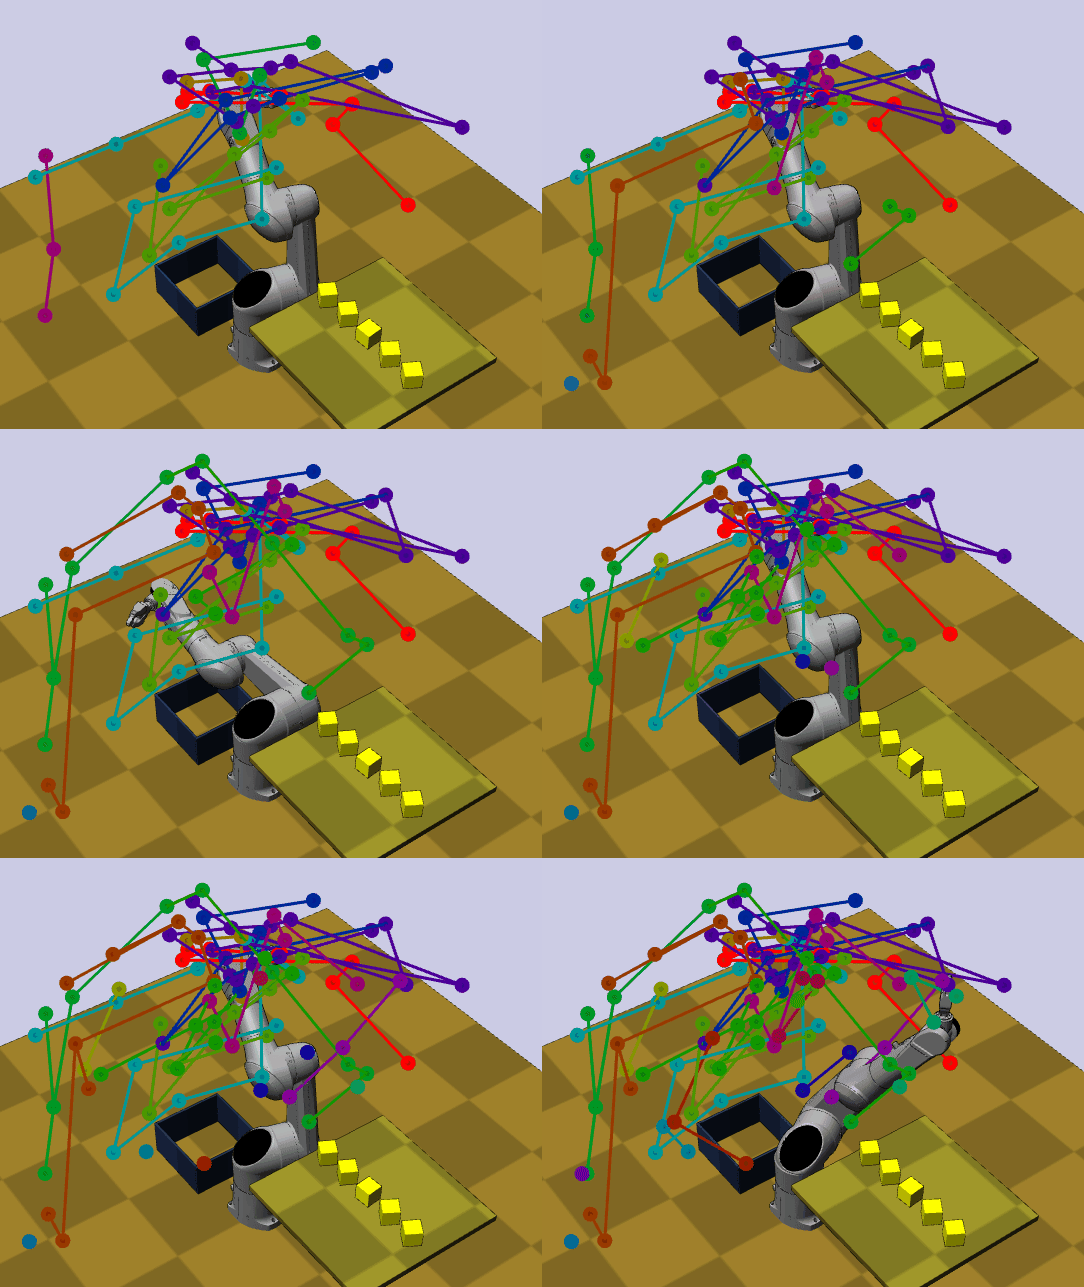
You can also launch the 3D simulator environment with the following command, given
that you had already installed the optional klampt dependencies that was
mentioned previously. Note that you will need to supply the environment file as
specified in klampt’s doc as they are passed directly to the klampt simulator backend.
We have included a complementary set of klampt data here, which is adapted
from the official klampt example repository.
You can use the following commands to quickly download the klampt data files:
cd sbp-env

# download klampt-data from remote
wget https://github.com/soraxas/sbp-env/releases/download/klampt-data/klampt_data.tar.gz
# extract
tar xzf klampt_data.tar.gz
And last but not least, you can start the klampt simulator with
python main.py rrt klampt_data/tx90blocks.xml --engine klampt
Important
If you don’t have OpenGL installed, you might also need to install it for
using the klampt simulator.
If you are using pip, you can install it with
pip3 install pyopengl pyqt5
Saving the planner statistics
During the planning episode, sbp-env will keep track of various statistics which
are beneficial to compare the performance between planner. The statistics will always
be displayed as part of the tqdm progress bar.
You can save the statistics to a .csv file with the --save-output flag,
e.g.
python main.py rrt maps/room1.png start 100,100 goal 350,350 --save-output
which would save the output to a timestamped .csv file under the runs/
folder by default. You can also customise the output folder with
--output-dir=MY_FOLDER.
- The recorded statistics have the following meanings:
nodes: The number of nodestime: Timestampcc_feasibility: The number of collision-checks for feasibility (node)cc_visibility: The number of collision-checks for visibility (edge)invalid_feasibility: The number of invalid feasibility checksinvalid_visibility: The number of invalid visibility checksc_max: The current cost of the solution trajectory


